Changelog

Follow new updates and improvements to allmates.ai.

🛡️ No More Interruptions: Introducing Model Fallback!
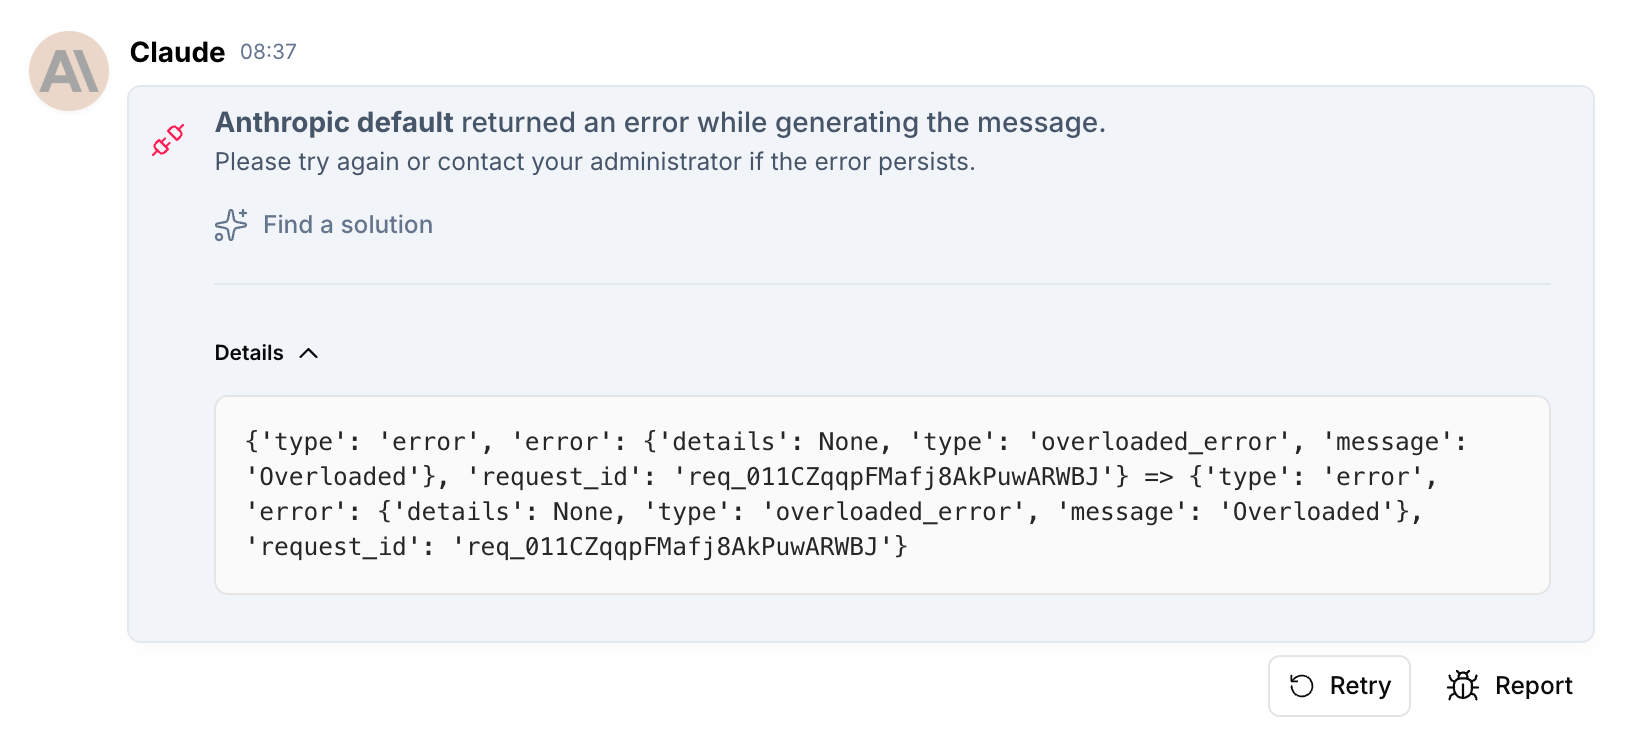
Anthropic not responding

Remember those frustrating error messages right in the middle of an important task?
They are now a thing of the past! Often caused by temporary overloads or outages at our AI providers, these interruptions are being replaced by rock-solid reliability thanks to our new Model Fallback feature.

🔍 What's New?

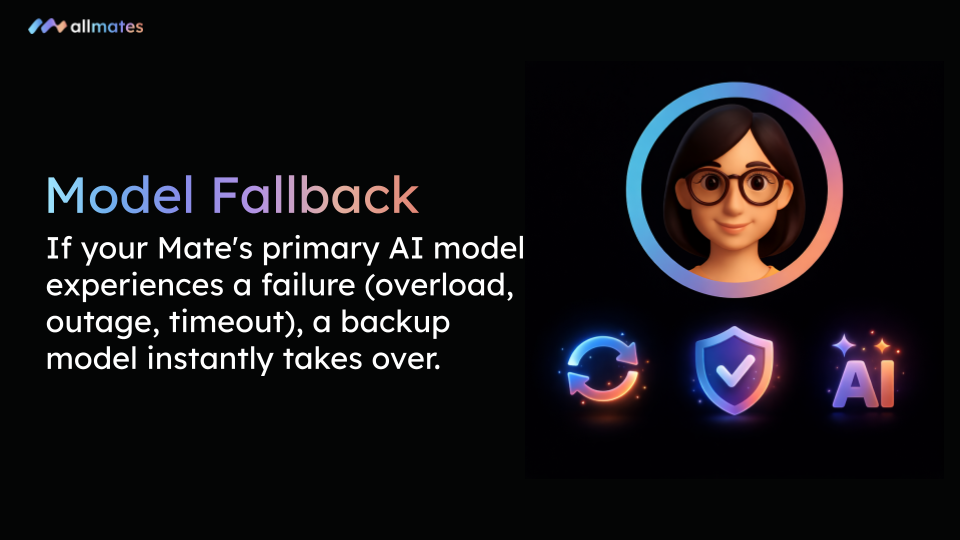
The Model Fallback equips your Mates with an automatic "Plan B." If your Mate's primary AI model experiences a failure (overload, outage, timeout), a backup model instantly takes over.

  • Invisible Continuity: The conversation continues naturally, with no red errors and no action required from you.

  • Total Transparency: When a message is generated by the backup model, a subtle amber icon appears in the message header. Simply hover over it to see exactly which model took over and why.

  • Administrator Control: By default, allmates.ai automatically selects the best backup model for you. Admins also have the flexibility to define a specific fallback model for the entire organization or disable the feature entirely.

❤️ Why You'll Love It

  • ⚡ Zero Frustration: Say goodbye to error messages that break your momentum. Your workflow is no longer dependent on external provider outages.

  • ⏱️ Time Saved: No more manually resending prompts or waiting for a provider to restore services. Your Mates will always deliver an answer.

  • 🛡️ Maximum Reliability: Enjoy a stable, fluid, and continuous experience. The feature is already active by default for all organizations (currently available for Native Mates).

🛠️ How to Configure It (For Admins)

Although the system works automatically out of the box, you retain full control over its behavior:

  1. Go to your Organization Settings.

  2. Navigate to Models Management > Settings.

  3. Under Default Model, use the Fallback Model dropdown to choose your preferred behavior (Automatic, a specific model, or None).

We are committed to providing you with the most stable and resilient AI collaboration experience on the market. Chat with peace of mind—your Mates always have your back!

— The allmates.ai Team
Improved

🔓 Workspace Privacy Controls: Easily Switch Between Public and Private!

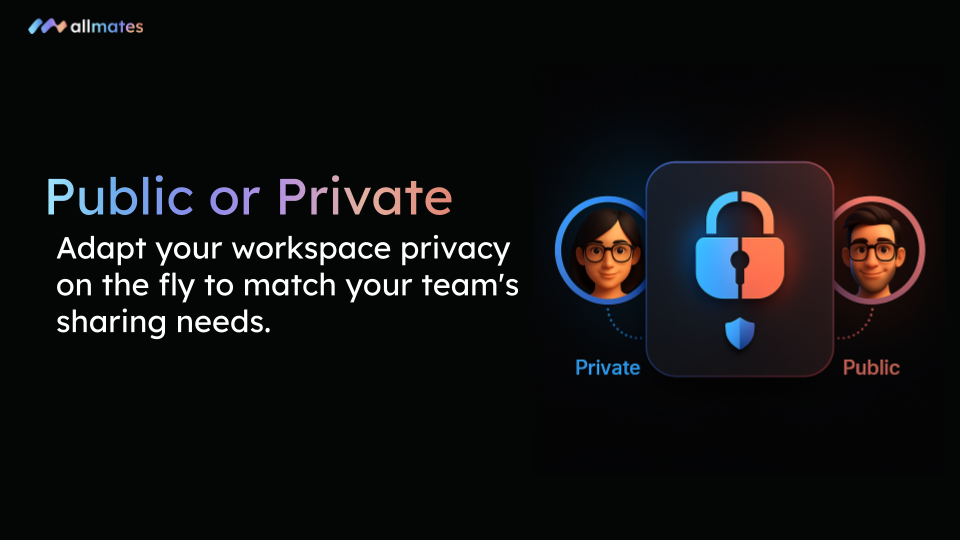
We are excited to announce a highly requested quality-of-life improvement for managing your teams on allmates.ai! You now have complete flexibility over your collaborative environments with the ability to change a Workspace's privacy settings at any time.

🔍 What’s New?

Previously, a Workspace's visibility was set at creation. Now, your Workspaces can adapt dynamically to your project's lifecycle:

  • Dynamic Visibility: Switch any existing Workspace from Public to Private, or Private to Public with a simple click in the settings.

  • Retrospective Privacy: Close off a public workspace when a project becomes confidential. Once set to Private, only explicitly added members will retain access.

  • Open Up Silos: Transform a private, invite-only workspace into a public hub when you are ready to share your team's work, knowledge, and Mates with the entire organization.

❤️ Why You’ll Love It

  • ⚙️ Total Flexibility: Your workspace adapts to your needs, not the other way around. Evolve your access rights as your project grows.

  • 🔒 Enhanced Security: Instantly lock down a workspace to secure sensitive information or strategic discussions without needing to migrate your data to a new private room.

  • 🤝 Effortless Organization: Simplify how you manage team chats and collaborations. Easily open up successful private initiatives to the rest of the company to foster transparency.

🛠️ How to Get Started

Changing your workspace visibility is quick and easy:

  1. Navigate to your Workspace and click the ⚙️ Settings icon (Project settings & members).

  2. Go to the Details tab.

  3. Locate the Visibility dropdown menu and select either Public or Private.

  4. Click Confirm on the pop-up warning to apply your changes.

Log in now and take full control of your workspace privacy. Happy collaborating! — The allmates.ai Team

Improved

🛠️ Master Your Toolbox: Introducing Granular Tool Authorizations!

We are keeping the momentum going! Following our recent update on Mate Authorizations, we are thrilled to announce that Tool Authorizations are now live on allmates.ai! 🚀

Your Toolbox is the heart of your Mates' "superpowers." Whether it's connecting to GitHub, Google Maps, or your own internal databases, security and control are paramount. With this update, we are giving you a sophisticated governance layer to protect your API keys and manage exactly who can use your integrations. 🔐

🔍 What’s New?

You will find a brand-new Authorizations tab inside every tool in your Toolbox. This allows you to define precise access levels for your team members:

  • 👑 Owner: The ultimate manager. Owners have full access to credentials (API keys), can modify the tool's schema, and are the only ones who can delete the tool.

  • ⚙️ Admin: Operational power. Admins can manage all settings and assign roles to others, but cannot delete the tool.

  • 👤 User: The "Connector" role. Users can attach the tool to their Mates. Note: To successfully use a tool, a member needs "User" access to both the Tool and the Mate! 🔗

  • 📋 List: Visibility without usage. Members can see that the tool exists in the organization's library but cannot attach it to any Mates.

  • 🚫 No Access: Total privacy. The tool becomes invisible to everyone except those specifically authorized.

❤️ Why You’ll Love It

  • 🔐 Bulletproof Configuration: Ensure your API setups stay exactly as intended. These authorizations ensure that only Owners and Admins can manage or modify the tool’s settings, preventing any unauthorized changes. 💥

  • 🎯 Controlled Collaboration: Empower your team by letting them use powerful tools without needing to share the underlying technical credentials. ⚡

  • 📈 Scalable Governance: As your organization grows, you can easily delegate tool management to "Admins" while keeping "Owner" rights centralized. ✨

  • 🔔 Stay in the Loop: Our intelligent notification system instantly alerts team members whenever they are granted a new role on a tool! 📥

🛠️ How to Get Started

  1. Navigate to Mates & Tools > Toolbox.

  2. Select the Tool you want to secure.

  3. Click on the new Authorizations tab.

  4. Assign roles to specific members or set an organization-wide default.

  5. Click Update to save your new security settings.

For a complete breakdown of how Tool Authorizations interact with Mate permissions, please visit our comprehensive guide in the Help Center.

We can't wait to see how you leverage this new level of control to build even more powerful and secure AI workflows! Happy collaborating! 🚀

— The allmates.ai Team

NewImproved

Earlier updates