Changing Your Workspace Privacy Settings
Switch a workspace between Public and Private, and see who can make the change.
Last updated 9 days ago
You can change the visibility of a workspace at any time: from Public to Private, or from Private to Public. You keep the conversations and folders, so you never need to recreate a workspace. This article is for workspace Owners and Admins, and for organization Owners and Admins.
The two visibility options
A new workspace is Private by default. In the default plan catalog, the plans that include workspaces are Advanced and Expert. Your organization's plans may differ.
Who can change the visibility
- The Owners and Admins of the workspace.
- The Owners and Admins of the organization, on a public workspace, even if they are not members of it.
Other members see the visibility as read-only text, with a lock or an open-lock icon.
Change the visibility
- In the sidebar, click the name of the workspace. The workspace page opens.
- Click the settings gear (Settings) at the top of the page. You can also click the gear next to the workspace in the sidebar (Project settings & members...).
- Open the Details tab.
- In Visibility:, choose Public or Private.
- The dialog Change workspace visibility opens. Read the message, then click Confirm.
The change applies at once.
From Public to Private
The dialog says: "This workspace will become private. Only explicitly added members will have access." A warning adds: "Members who are not explicitly added to this workspace will lose access to its resources and content."
After the change:
- only the members listed in the Members tab keep access;
- the other members of the organization no longer see the workspace in the sidebar or in the search;
- the other Owners of the workspace get an Inbox notification: "Alex made this workspace private";
- if the workspace had no Owner, you become its Owner.
If you are an organization Owner or Admin:
- Not a member of the workspace: you lose access at once, and the workspace disappears from your list. If the workspace has no Owner, you become its Owner instead.
- Member of the workspace: you keep access. You can manage its settings only if your workspace role allows it.
From Private to Public
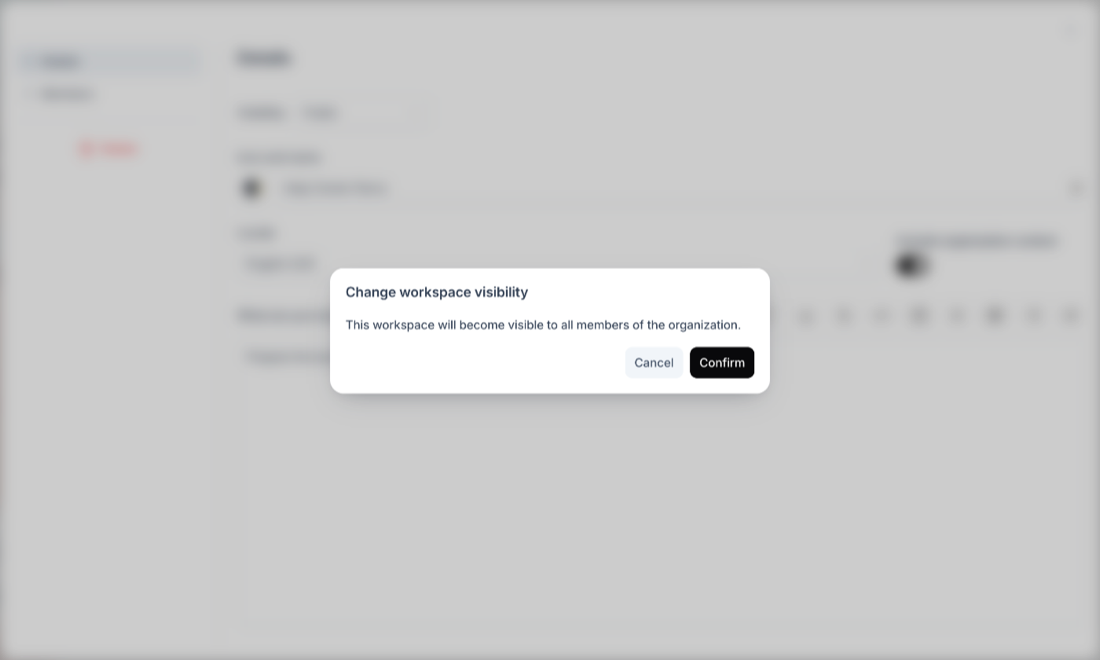
The dialog says: "This workspace will become visible to all members of the organization."
After the change, every member of the organization can see the workspace and its conversations. There is no notification.
Tips and best practices
- 🎯 Review the member list before you switch to Private. Members who are not in the list lose access, and they cannot join on their own.
- 💡 Lock down a project when it becomes confidential. Switch it to Private: the conversations stay where they are.
- ✅ Open up a successful initiative. Switch a private workspace to Public to share it with the whole organization.
- 🔍 Check the content before you switch to Public. Every member of the organization will see all the conversations of the workspace.
Related articles
Was this helpful?
Still need help? Ask the team